


How To Clean Pool Tiles
A swimming pool in the house can be everyone’s favorite spot. It’s where the children splash and play with their favorite inflatables, while the poolside can be a soothing area where you can read a book. Don’t be surprised if guests stick around the pool area because it is really nice to have BBQ parties beside it. And because a swimming pool is such a popular place to be, it’s essential that you keep the entire area sparkling clean year-round. But the big question is, how to clean pool tiles?
Swimming Pool at Home
So, question is, do you have a swimming pool at home? Well, it is not ordinary for people to have one. Then, if you are that fortunate enough to have one in your backyard, you probably know how cool it is. Just the idea of diving at any time of the day or even partying in the pool is only one of the many cool ways you can enjoy it.
Ancient Times
Believe it or not, you’re not the only one enjoying this in fact, swimming pools are popular even in the past. It is not only a trademark of how wealthy someone is, but it started with a bit of history. These man-made watering holes for bathing and swimming go back at least as far as 2600 B.C.E. Imagine what swimming pools look like back then; you can say that architecture is really not bad. The first elaborate construction is probably The Great Baths of Mohenjo-Daro, an ancient and elaborate bathing site in Pakistan made of bricks and covered in plaster, featuring terraced decks that wouldn’t look out of place in the modern pool landscape. Mohenjo-Daro probably wasn’t used for general lap swimming; however, scholars believe people used it in religious ceremonies.
After some time, people began to see more useful ways for swimming pools and made them a place of learning. And yes, before ancient people thought of washing their sweats in these huge watering holes, they even thought of a classroom in it. More man-made pools surfaced throughout Rome and Greece and incorporated swimming as part of the education of elementary-age boys.
19th Century
Now let’s skip a bit in ancient times, swimming pools did not become popular until the middle of the 19th century. It was quite a period before people began to use it more often. After the aesthetic design of pools used for education and ceremonies, their designs changed by 1837. During this time, people built six indoor pools with diving boards in London, England. People started to look at swimming pools as a place of competition in the modern Olympic Games way back in 1896. Actually, swimming races were among the original events in the Olympic Games, and that’s when the popularity of swimming pools began to spread.
Present
At present, myriads of people are starting to consider owning a private pool in their own backyard, for it grants better benefits than swimming in a public pool. Having your own pool, whether in the backyard or inside the house, grants easier access, convenience, and you don’t have to travel just to enjoy swimming. And the best part of it is that you can stay in the pool as long as you like. It provides you with more happy memories with your loved ones.
Having a swimming pool in your backyard is not as pricey as building one for the Olympics (At least, if pricey won’t mean spending more than a year’s salary versus the joy of enjoying yourself and your family at the poolside). Many designs don’t require a full pledge racing size of a swimming pool, but just a simple jacuzzi size always works.
Alongside the happiness of enjoying swimming pools at home are some problems about maintaining the cleanliness and shine of the one covering the entire water hole, the tiles. Keep reading to discover how to keep the joy in swimming without saying “Yuck” every time you go deep in the waters.
 How to Clean Pool Tiles
You know how important keeping your pool cleaned and well-maintained is, but do you take the time to clean the pool tiles as well? Changing the waters in the pool frequently won’t help if dirt already builds an empire in between the tiles of your pool. Thus, cleaning your favorite spot requires effort.
If cleaning the pool tiles is not a habit or included in your “to-do” list, then it’s time that you start pool tile cleaning. You ask, why? Therefore, recall the times when you’re exiting or entering your pool and your hand brushes over a slimy tile. If this did not cringe you, well, you might be used to it. It is alarming because dirt build-up might be stocked there for a long period of time.
Pool tiles, over time, become dirty due to a couple of different reasons that you need to take note of. If you spotted white or gray scum on tiles that are difficult to remove, it is already a sign that tough dirt is already there. When grimes are now visible, it is helpful to understand what they are so you can do the right solution.
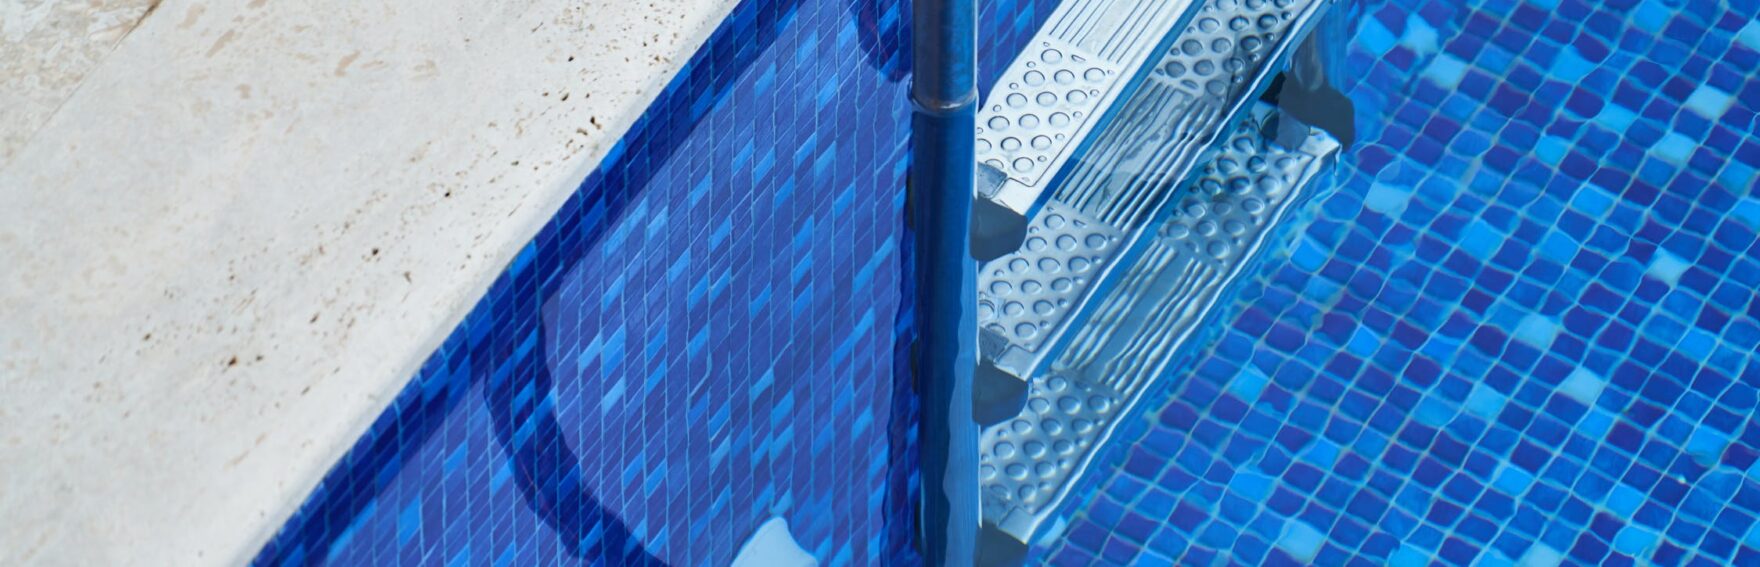
Build-up Dirt Around the Pool
This build-up dirt in the swimming pool is what we call grime. It is an accumulation of body soil, sunscreen, mineral deposits (scale), and other chemicals or products we use in the pool that clings to the tiles. If you have hard-water deposits in sinks or tubs inside your house, they will probably happen to your pool surfaces as well. This grime develops as water evaporates, while scaling occurs when mineral deposits cling to the sides of a pool.
As said, they are easy to spot in the pool tiles as Calcium silicate is the white or grayish substance that’s harder of the two because this is something that’s been on the tiles for quite some time now. What are these calcium deposits that are scaling on the tile?
Calcium Carbonate
The white scaling that you see on your pool is what we call Calcium carbonate, which appears white. They are flaky deposits on the tile, and if treated with muriatic acid, they will bubble up. You don’t have to worry if ever you spotted this because Calcium carbonate is the easiest type of deposit to remove.
Calcium Silicate
The other grime you may find that appears dark grey in color is what we call Calcium silicate. Unlike Calcium carbonate, this grime doesn’t flake and doesn’t react to muriatic acid. Sadly, if you haven’t noticed it on your pool tiles, Calcium silicate is much more difficult to remove, especially if it has remained on the tile for a long period.
The staining of pool tiles can’t get away from discoloration and can show up in a variety of colors. This problem on the surface of your shining white pool tiles occurs from a chemical imbalance from the water reacting with the pool’s surfaces. Lucky for those who hired a pool maintenance company, they regularly blast away the build-up as part of their routine cleaning. But for a smart housekeeper like you, if you are taking care of the pool yourself, frequent cleaning should prevent the stains from becoming so difficult to remove that you must replace the tiles for a clean look.
 How Often Should You Clean Pool Tiles?
Taking care of your tile floors isn’t that hard; with a gentle hand and a few smart cleaning techniques, you can slay it like a pro. Although you don’t have to scrub the pool tiles and grouts every time you spot a discoloration of the surface and lines, it’s important to keep an eye on your tile floors for these signs of dirt or grime.
Surprisingly, we always hear the question,” How do I know if my tile needs cleaning?”. If you are one of the curious minds, you should know that the answer to this question is quite simple.
For the easiest maintenance, consistent checking of your poor tiles will save effort and energy in the future. Ideally, You should clean the waterline tiles as soon as you notice any discoloration (that depends on how many times you check on your tiles). Don’t panic; discoloration can take a span of weeks up to months, depending on how clean you left the pool tiles last time you did an operation on it.
Please take note, small levels of build-up at the waterline are much easier to clean than waiting until it’s heavy. Therefore, you don’t need to wait forever and check whether the grime is already an inch. You can schedule checking and cleaning; after all, grimes our product of dirt left after you soak and relax. It is just a matter of how frequently you use the pool.
Yet, if swimming is not your day of activity, especially during the cold or winter season, you should always clean the tiles at the beginning and end of the pool season.
Cleaning the Pool Tiles Like a Pro
Sometimes, owning a pool overwhelms owners like you. With the happy memories you can share with your family in the pool, I bet anyone can forget the responsibility of maintaining its cleanliness. You should remember that owning a pool requires the consistency of cleaning it regularly; if not, it could lead to various accidents and infections. Thus, maintaining the cleanliness of your pool is just one of the many ways of swimming pool care.
Aside from knowing your enemy in maintaining the spark in your pool tiles, it is also important to know these useful materials you can use. Having these in your cleaning materials will save you from calling a professional pool cleaning company.
Cleaning tools and equipment spray tile cleaner that’s safe for your pool water
There are several to choose from at a pool supply store, or you can dilute muriatic acid with water in a bottle (not our best pick – it’s dangerous!). Some products, which are safe to use on pool tile, work great to remove calcium at the waterline, and will even break down thick calcium build-up.
A scraper
It will help in removing thick calcium build-up as you soften it with a tile cleaner of choice. We prefer plastic scrapers because they don’t scratch.
Pumice sticks
This one works well to rub off the last bit of calcium that scrapers can’t get under. While it’s generally safe to use pumice stick on tile, always test on inconspicuous areas of your tile first. You may find pumice sticks at pool stores or home improvement stores.
Scrubbing pads
It will work well to do a general scrub-down of the tile above and below the waterline. Use one with a handle for even scrubbing power.
Small stiff brush
Add this to your cleaning tool kit because it is useful on the grout and tight spots like the top of the tile that meets the coping. A mini grout brush that has an angled head, and comfortable grip handle can help get the job done.
Different Ways in Cleaning Pool Tiles
In cleaning the waterline tiles, always begin with the gentlest method first. It can take care of the grime without progressing to more difficult and toxic cleaning methods.
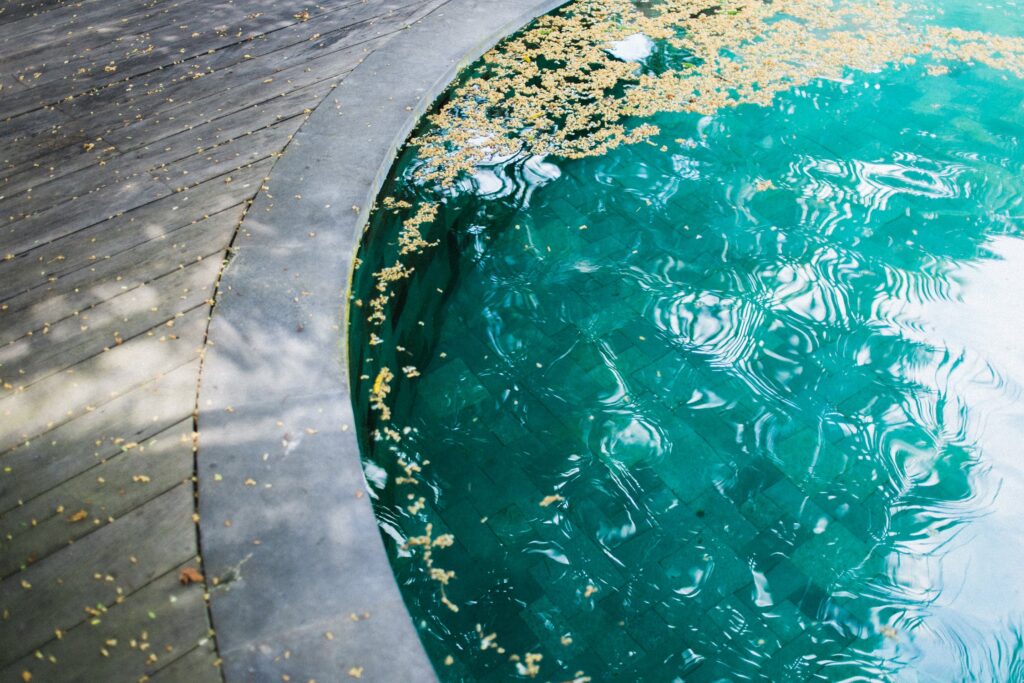
STEP 1: Remove All Organic Matter
For pool owners who have their pool in their backyard, which is exposed to trees and plants, you must remove the leaves, grass clippings, and other organic matter in the water, and use a pool vacuum or a net skimmer to remove as much of the problem as possible.
STEP 2: Drop the Waterline
It is easier to clean stained tiles if the waterline is moderately below its usual position. You may choose to work from the pool deck or while you are in the water.
STEP 3: Start Scrubbing with a Brush
Use a stiff-bristled scrub brush (without wire bristles to avoid unnecessary scratches on the tiles) to scrub away mineral deposits. Work in a circular motion in a particular area about three or four feet wide. If you have glass tiles, using a soft-bristled brush is a better choice to prevent scratching. For tight, small areas, an old toothbrush will work well.
STEP 4: Remove Dirt and Grime
Once you’ve loosened the mineral deposits from the work area, remove the accumulation of body soil, dust, and grime. You can do this by scrubbing the areas with one of these solutions that you mixed in a plastic bucket:
- one part distilled white vinegar with one part water
- one part cleaning vinegar and two parts water
- dry baking soda and a few drops of water to create a paste
- one-fourth cup of dishwashing liquid and a gallon of water
Dip the scrub brush in a solution and scour the tiles at the waterline. Use a melamine sponge for tough-to-remove stains. Splash a bit of pool water or freshwater over the freshly cleaned area and then repeat the scrubbing and cleaning steps while moving around the perimeter of the pool.
STEP 5: Use a Pumice Stone if Scrub Brush and Cleaning Solutions Won’t Work
These are available online and at several home improvement and pool supplies stores. Since it is made of ground volcanic rock, the stone will break apart the deposits. You must keep the stone and tile always wet while you work, or there’ll be excessive scratching. Work slowly with light touches as you scrub in gentle circles along the waterline.
STEP 6: Try a Commercial Cleaner or Professional
If pumice stones did not remove the build-up, you could try a tile cleaner that contains sulfamic acid. These types of cleaners are harsh and they must be used with extreme care. It would help if you did not use them after you’ve added the regular pool chemicals onto the water. After use, allow several days to pass before you treat the pool water with chemicals or swim in the water.
There you go! Cleaning your pool tiles is not hard as you expect. You only need to be consistent in cleaning to avoid build-ups that might require a greater effort. Remember, cleaning your pool tiles will not only save you from swimming in the dirt but also from compromising your health with hidden bacteria like E. coli, Cryptosporidium, and Giardia. Save yourself from acquiring Gastrointestinal diseases, Skin, Ear, and Eye infections, Respiratory failure, Neurological Diseases, and Diarrhea by keeping your pool tiles clean. But for comprehensive cleaning, you may hire a professional for swimming pool tile clean-up.


No Comments
Sorry, the comment form is closed at this time.